

Contrary to what you might expect, the chain is one of the fastest-wearing components on a bicycle, especially in modern drivetrains with more than eight speeds. Most manufacturers recommend replacing it every 700 kilometers or so. Sure, you can ride tirelessly for several thousand kilometers, but that also means the death of the cassette and chainrings, and a deterioration in shift quality over time. Everyone has to decide whether it's worth it. Regardless of the decision, it's worth taking care of your chain and lubricating it regularly. And for this to be effective, it also needs to be cleaned. This maintains smooth operation and significantly extends the life of the drivetrain. How do you do it properly and efficiently? Cleaning your chain doesn't mean a lot of dirt and black hands! I'll present two methods – one better and one faster. If you have a different method, be sure to share it in the comments!
How to clean a bicycle chain?
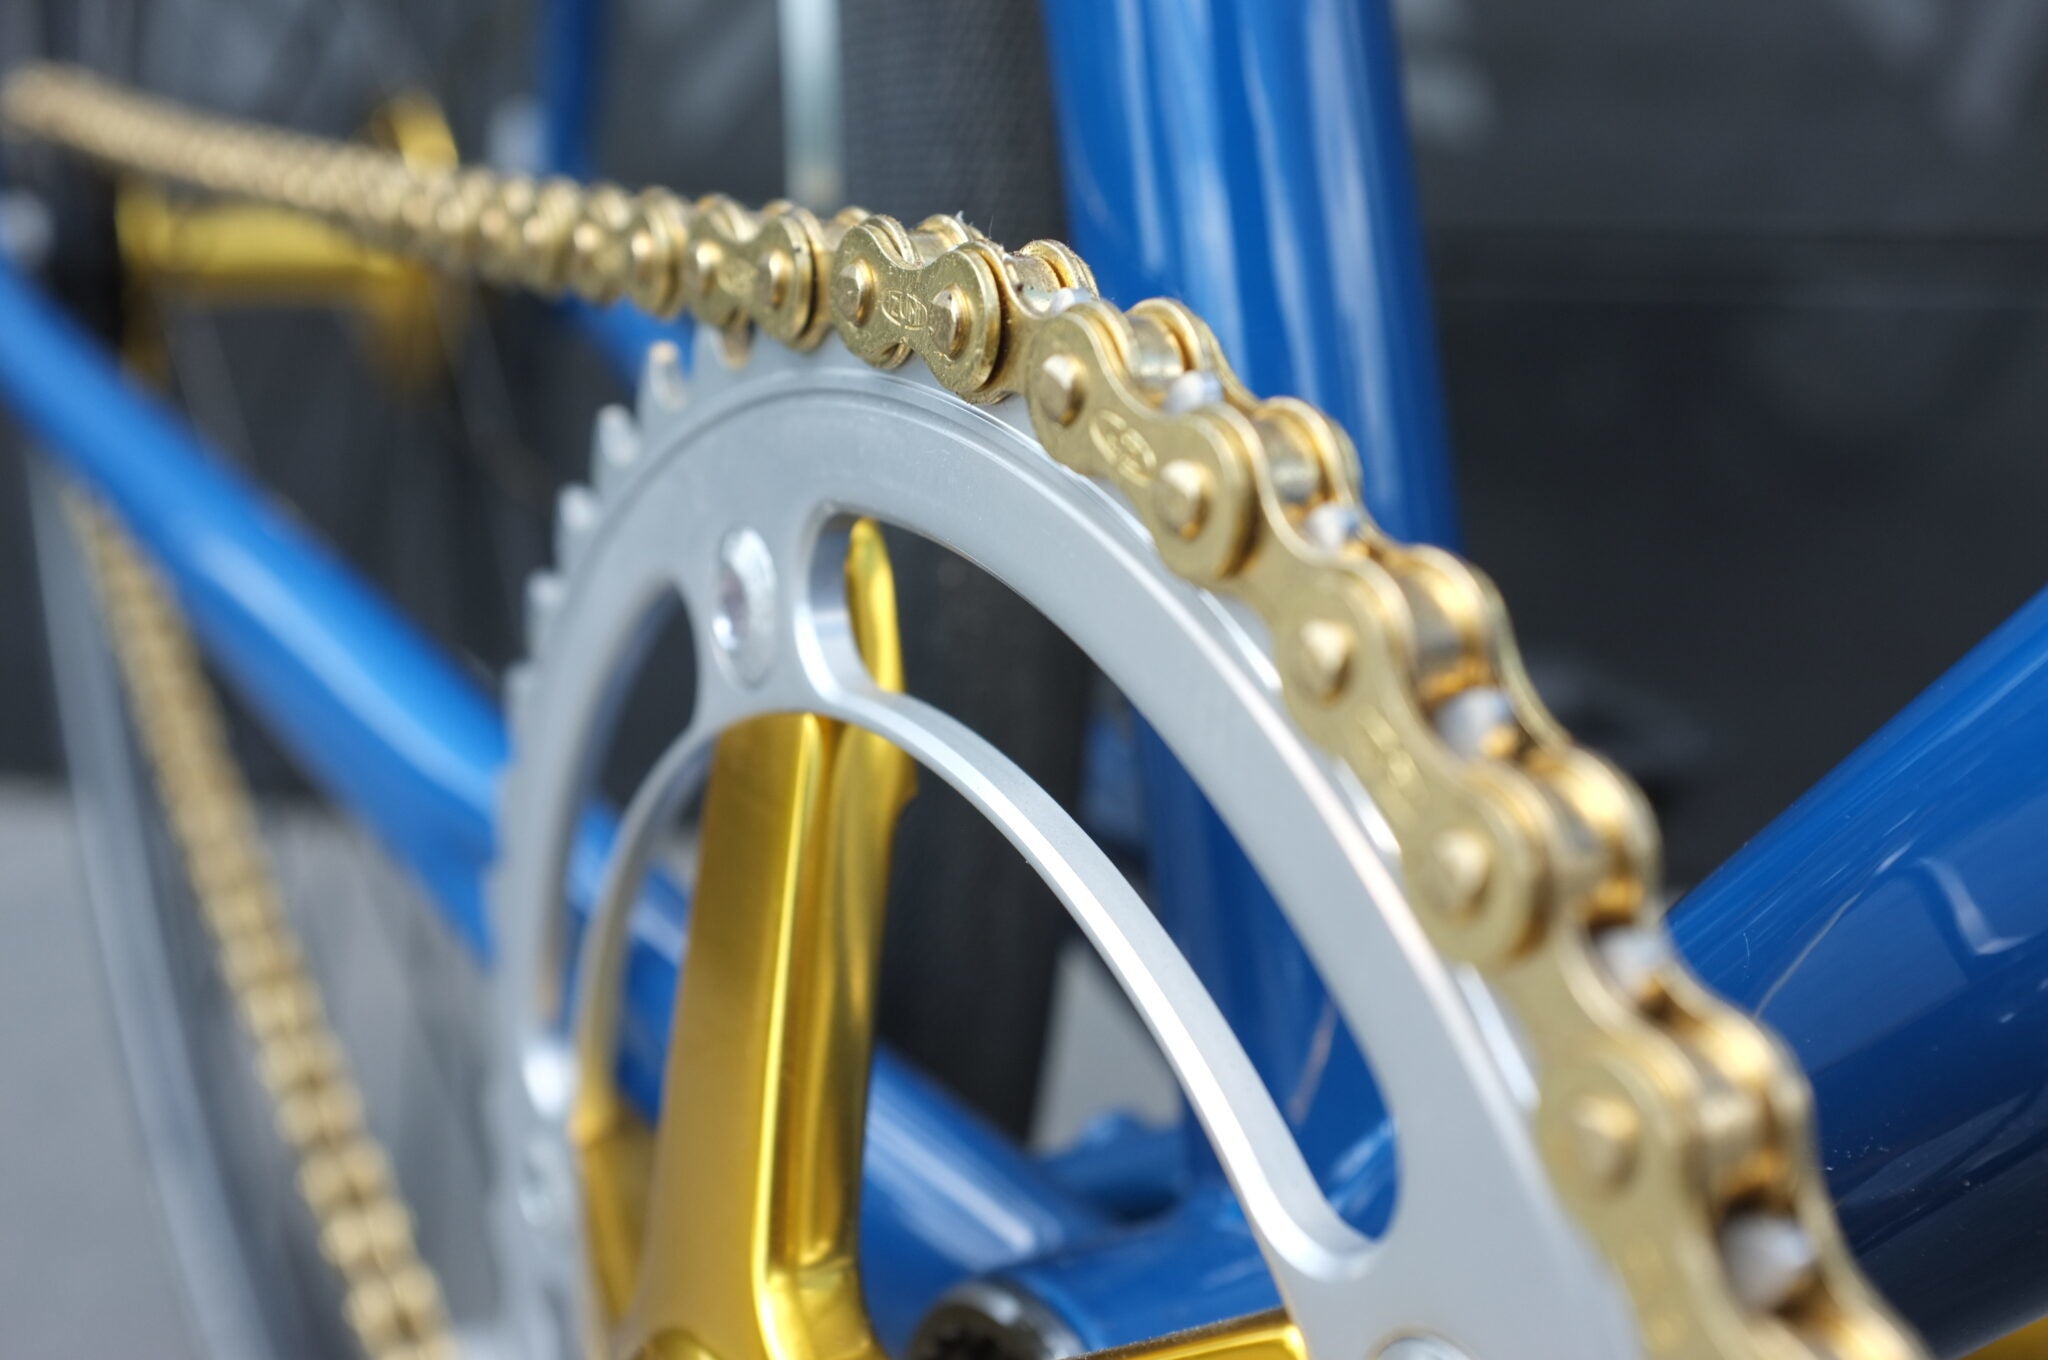
The goal is clear: remove all the gunk from the links, and ideally also from the sprockets. Any sand or other road debris damages the chain and creates noise. We don't want that. We'll start with a comprehensive method that will allow us to achieve ideal results.
Deep chain cleaning
This method requires disassembling the chain. If you're in a hurry, move on to the next one. If you don't have a chain link, you'll need to get a suitable one (or a pin to break it off) and use a chain breaker. Remove the chain and place it in a plastic bottle, fill it with white spirit until it's covered. Then, shake it vigorously like a good drink (this method is sometimes called a shaker) and let it sit for a few minutes. During this time, you can clean the gears. A toothbrush and cloth are best for this. You can help yourself a bit with a good vaporizing degreaser, but be careful—you don't want it getting into the bearings. I recommend car brake fluid. Under no circumstances should you use WD-40!
You can give the chain bottle another good shake in all directions and then throw it into the sink or basin. Now rinse it thoroughly with water, then spray it thoroughly (a plant sprayer works great) with dishwashing liquid diluted with water. Then scrub it with a large nail brush until it shines. One more rinse with water and the worst part is over! A good practice is to give it a generous spray of the aforementioned brake fluid – this should flush the water from the inside of the chain. Then dry it, first with a cloth, then with a compressor or hairdryer. You can take this opportunity to oil all the links (a drop per link), without contaminating the sprockets. Once the oil has absorbed after a minute or two, you can easily and thoroughly clean the outside of the chain with a cloth. Simply put it on your bike and you're done. This type of chain cleaning takes some time and effort, but it yields the best results.
Quick bike chain cleaning
Forget about all those magic chain brushes. A toothbrush is the best. By rotating the drive back and forth and applying pressure from all sides, you'll quickly remove most of the dirt. Just be careful not to dislodge the chain when rotating it backward. You can also use two brushes connected with a rubber band to clean both sides at once – a powerful tool. Then wipe with a cloth, oil, wipe again (this time with a cleaner cloth), and off you go! Specialized products will help achieve better results, but they won't replace mechanical chain cleaning.

Chain cleaning should become a habit – as you can see, basic cleaning is quick, simple, and doesn't require anything special. A good habit that ensures the longevity of your drivetrain.


Leave a comment