


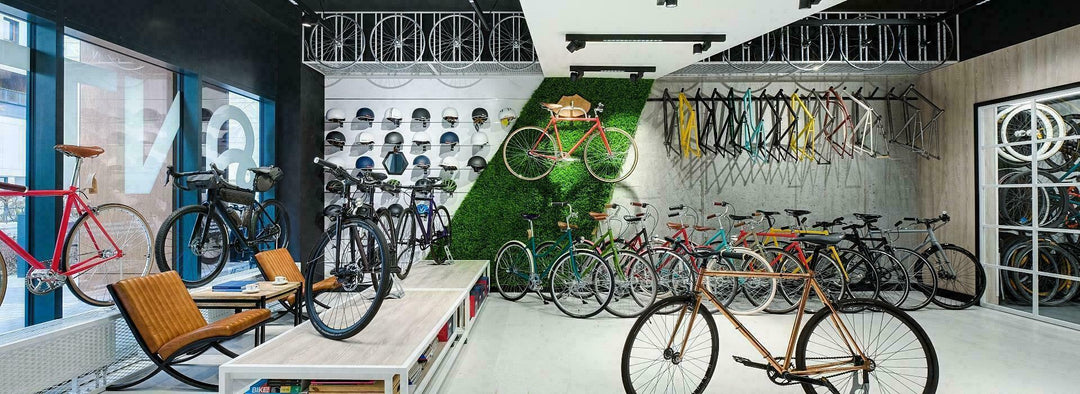
How to replace a brake cable on a bicycle?
When our bike brakes are weak, or we notice a frayed, rusty, or worse yet, broken cable, we are forced to take certain steps. Prevention is better than cure. This is no different; don't wait until the last minute! If we notice a problem, try to eliminate it immediately. Our safety and that of others largely depends on functioning brakes. Types of cable-operated brakes: cantilever – popular on MTBs from the 1990s, today mainly used on cyclocross bikes. They are unique and often difficult to adjust. V-brake – popular and easy to adjust. Found on most everyday bikes. Drum brake – popular on children's bikes, they are low-maintenance and weather-resistant. They are characterized by low stopping power. U-brake – a popular brake on road bikes, easy to use and resistant to harsh conditions. Mechanical disc brakes – an increasingly popular solution. Unfortunately, most models (with some exceptions) share the disadvantages of hydraulic disc brakes and traditional ones. The advantage is simple adjustment. Want to schedule a service appointment?
Find out more - Hydraulic bicycle brakes - which are the best?
Tools needed to replace the cable
It's worth equipping yourself with a suitable Allen key and cable cutters. Pliers will also come in handy. Before purchasing a new cable, it's worth inspecting the condition of your brake pads and housing. If you find the housing hard, cracked, or wires sticking out of the ends, it's essential to replace it. If your pads are already worn, don't hesitate to install new ones. It's worth noting that the cheapest cables cost around 5 PLN, and the most expensive ones up to 100 PLN, but with normal use, there's no point in spending that much. Professionals, where attention to detail matters, will notice the significant difference. Replacing a brake cable is quite easy and can be done yourself. We'll be replacing the cable using a V-brake as an example, but the procedure is very similar for other brake types.
Replacing the cable
- There is a barrel screw next to the brake lever (the one where the housing goes), you need to screw it in to loosen the cable.

- We cut the end of the cable and unscrew the cable securing bolt, then press the brake lever and pull out the cable.
- At this point we can replace our pads and armor if necessary.
- We attach the end of the cable to the handle and insert the entire cable into the casing.

- Now we need to tighten the cable, pre-setting the distance between the pads and the rim (approx. 2 mm) and using pliers or fingers to hold the cable, tighten the bolt.

- We check if everything works and shorten the excess cable, tightening the seal at the end.

- We make the final adjustments and go for a ride.
In fact, the most difficult part of replacing the brake cable is pre-setting the brake arms and screwing everything together. If there's too much slack, you'll need to repeat this step by tightening the cable a little more. A straight wheel is also important; if it's centered, I recommend spending some time on it; without it, our adjustments won't be very effective. Learn how to care for your bike.
Check also - How to replace V-brakes yourself
Brake adjustment
All adjustments are made using two screws. Each is located on one of our brake arms. If you notice the brake rubbing on the right side, slightly tighten the screw on the right arm, or loosen it on the left side. Repeat this process on the other side until the wheel rotates between the pads and does not rub. It's also worth remembering that when you press the brake lever, it should deflect approximately two-thirds of the way from the handlebar. If it doesn't, the cable is too tight or too loose.  Small tension adjustments can be made using the barrel on the lever. If this isn't enough, repeat the cable tensioning and tightening screw. The ideal operating range of the lever is half its travel, and it's worth maintaining this range for maximum braking power. Remember that after prolonged use, the cable can stretch and the pads can wear out, so it's worth checking the operation of your brakes and adjusting them if necessary. Also, pay attention to your wheels; if they're straight, the entire process takes a few minutes at most. If you've already replaced the cable and adjusted the brakes, congratulations! Remember – a functioning bike guarantees successful and safe rides. It's always worth taking a few minutes before setting off for a quick inspection. Check your wheels, chain , hubs, and all moving parts, as these are the most vulnerable to wear and damage.


Dzień dobry,
należy udać się do najbliższego sklepu rowerowego – linki i pancerze to elementy standardowe. Pancerze sprzedawane są na metry, doświadczony mechanik dobierze dobrą długość do roweru, można też zmierzyć stary pancerz. Przy okazji wymiany pancerza zawsze warto wymienić linkę – kosztuje jedynie kilka złotych, a poprawi jakość pracy hamulca. Dodatkowo stara linka może być upierdliwa przy przełożeniu i się rozplątywać.
Skad brac linke z pancerzem odpowiedniej dlugosci do damki KETTLER-przedni hamulec,pancerz przelamany na dwie czesci,czyli trzeba wymienic tylko pancerz-gdzie go zdobyc???.
Gdy dodatkowo oba hulce sa uruchamiane z jednej dzwigni typ KBS KETTLER
Kurde bele, nie pomyślałem, że można podejść do tego w ten sposób. Przekażę chłopakom na serwisie, wszystko teraz będzie szło szybciej. Dzięki!
znam prosty sposób wymiany linek. działa z każdym typem.
krok 1 – usuwasz starą linkę.
krok 2 montujesz nową linkę.
Najprostszy sposób a o dziwo zawsze działa. Polecam . Jak będziesz potrzebował pomocy przy podobnie skomplikowanych tematach np. jak zmienić dętkę, albo żarówkę to pisz na priv
Leave a comment