


How to plan a route for your first cycling weekend
Creating a cycling route seems simple: open a map, pick a destination, and ride. In reality, that’s where the problems begin. Ready-made routes rarely have exactly the length, elevation, surface, and stages you need. And when you try to create your own, it’s very easy to end up on a road that only looked good from a distance.
However, you don't need to be an expert in digital cartography to plan a safe and enjoyable cycling weekend. You need to start with a few simple questions: how much can you realistically ride, what kind of terrain do you want to ride on, where can you reach by train, where will you refill your water, and does the route still make sense once uploaded to your navigation?
This guide leads you through the entire process: from the idea for the weekend, through choosing maps and waypoints, to checking climbs, surfaces, traffic, and whether a given road has any sense of adventure to it.
Cycling routes around Warsaw — a good starting point if you want to plan your first weekend close to home.
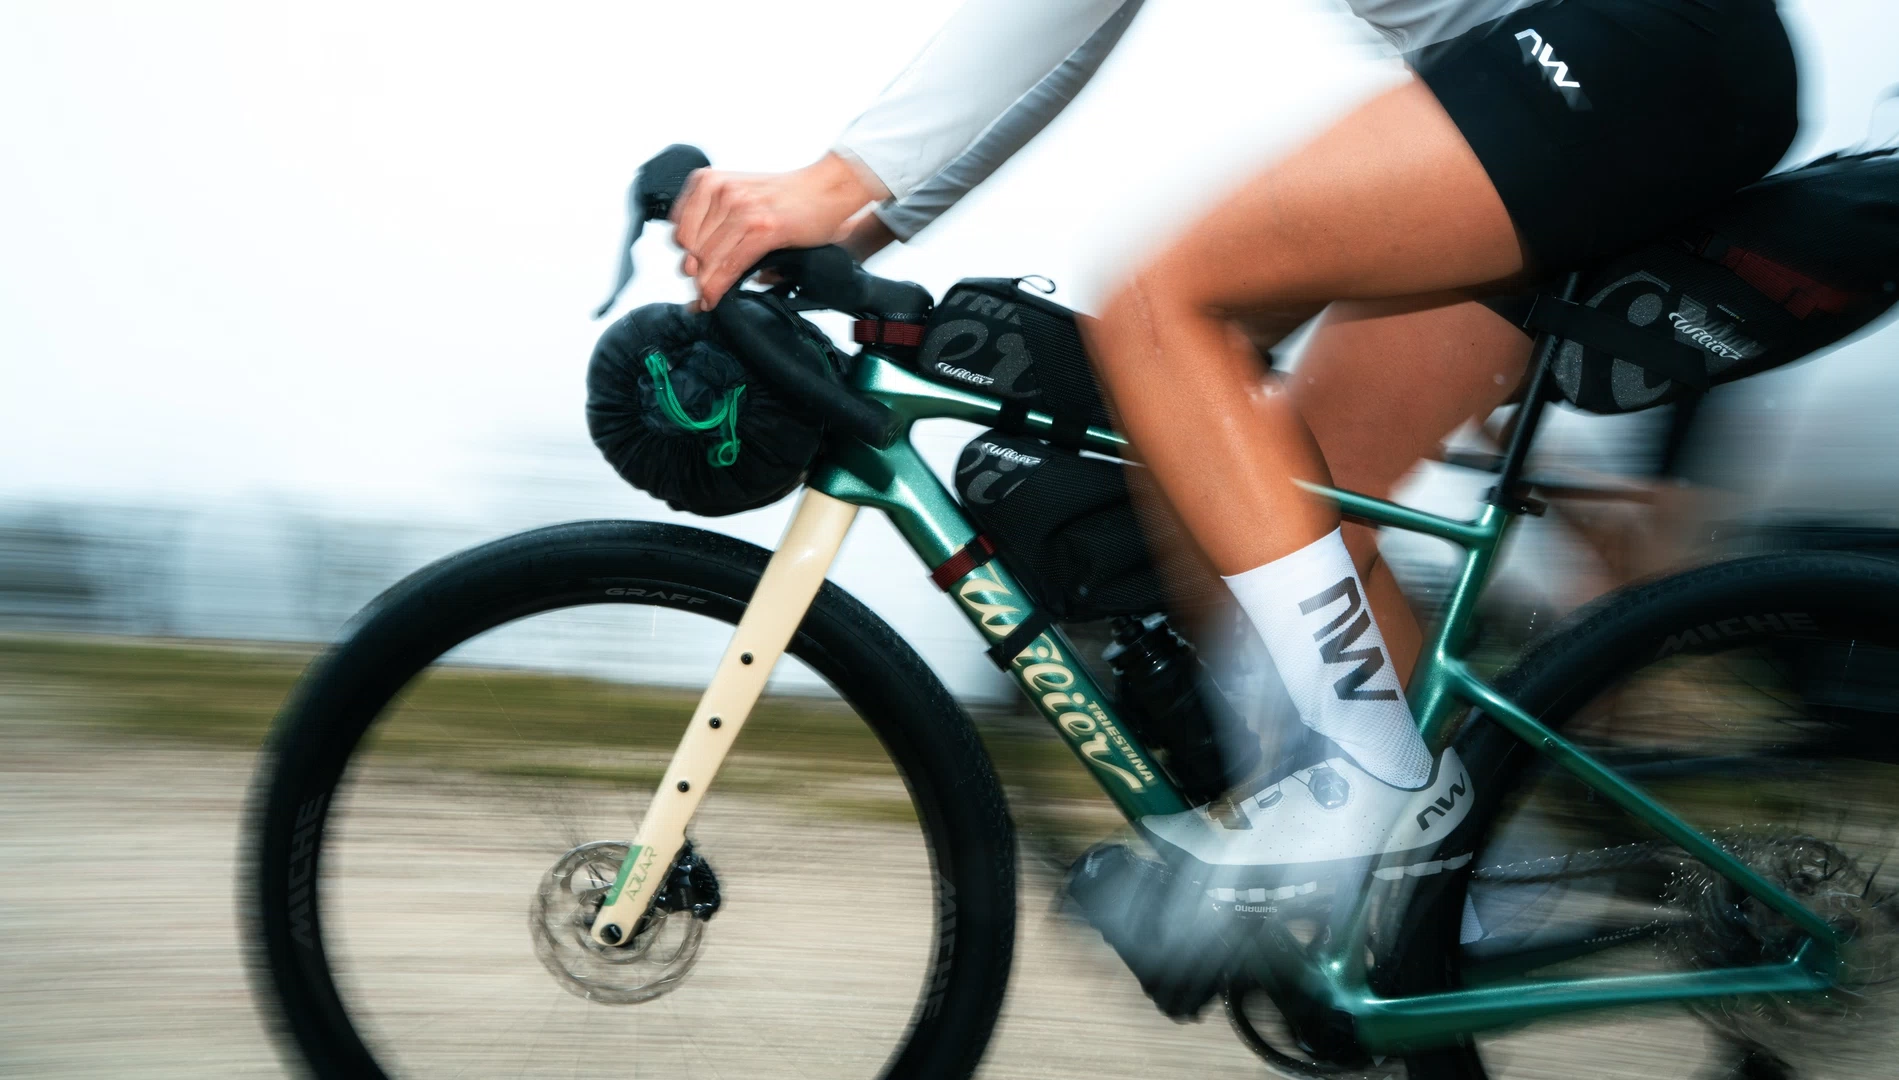
photo — Wilier Triestina
Count yourself first, not the kilometers
It is worth starting the route planning with a very down-to-earth thing: how many hours do you realistically want to spend in the saddle. Not how many kilometers look good on a map. Not how many someone from Strava rides. But how much time you want to ride so that the weekend remains a trip, not a test of character.
If you plan to ride for three hours and you know your cruising speed on flat ground is about 15 km/h, a simple stage without major climbs can be roughly 45 km. At 20 km/h, it becomes about 60 km. But if you add climbs, gravel, wind, luggage, or heat, you have to subtract. Sometimes quite a lot.
You must include breaks in your pedaling time. Lunch, coffee, shops, viewpoints, castles, ferries, breakdowns, photos, waiting for the train. A common mistake during the first cycling weekend is wanting to do too much. On the map, everything is close. In reality, an hour and a half for lunch and half an hour for a viewpoint can completely change the rhythm of the day.
It is worth having a plan B: a shorter route variant, a station along the way, a detour, or a section that can be skipped without regret. A good cycling route doesn’t have to be as tight as a film schedule.
Decide where you want to go
What really matters is matching the terrain to your capabilities. A weekend in the Bieszczady, Karkonosze, or Low Beskids sounds beautiful, but without preparation, it can quickly turn into agony. Especially if you add luggage to the bike and elevation to the route that you don't feel on a flat map.
If you are just starting out, choose directions with good cycling infrastructure. Trails like Green Velo, Velo Małopolska, or the Vistula Cycle Route are a good starting point because it is easier to find accommodation, shops, service centers, repair stations, or simply a section of the route that was designed with cyclists in mind.
This doesn't mean you have to ride only on ready-made routes. It just means that for your first weekend, it’s better to give yourself some shortcuts. You can ration the wildness, detours, and improvisation. Especially when you don't yet know how you react to a whole day of riding with gear.
Electric bikes at ANTY — an e-bike can open up routes that would be too ambitious for a first weekend without assistance.
Start and finish: the train gives you freedom
For your first cycling weekend, if you aren't starting from your front door, it is most convenient to plan a train journey to the starting point and a return train journey from the finish. This provides much more freedom than a classic loop. You don't have to end where you started. It is enough that there is a station at the end.
Before the trip, you must check the bike transport rules of the specific carrier. In regional and long-distance trains, rules, fees, capacity limits, and reservations can vary. This is not a detail for the last minute, especially in high season, on popular routes, and during long weekends.
If you prefer driving, leaving the car near a train station can also make sense. Then, the train ride back remains an emergency option. This is very practical when the weather turns, someone gets a flat tire, the route turns out to be longer than you assumed, or you simply don't want to close the loop at all costs.
It is also worth checking ferry and water crossings. A ferry across the Vistula, a water tram, a local river crossing, or a lake boat can be not just logistics, but also one of the highlights of the weekend.

Waypoints: attractions, accommodation, food, and water
In practice, a cycling route is a connection of points. Start, finish, accommodation, lunch, shops, viewpoints, castles, beaches, ferries, wooden churches, observation towers, cafes, rest stops. The better you choose these points, the easier it is to draw a sensible trace between them.
If you don't have specific ideas yet, you can look for inspiration in maps, guidebooks, local tourism websites, Komoot Highlights, Google Maps, or simply ask friends who ride. You can also ask AI for suggestions, but later you still need to verify everything on a map and in real-world conditions.
The most important waypoint is accommodation. The second is water and food. On a map, a shop looks like a certainty, but in the Podlasie region, the Bieszczady, or in small towns along the way, it may not appear for dozens of kilometers. Or it may appear, but be closed exactly when you arrive.
It is also worth being moderate with attractions. Tasting local cheeses, honey, beer, or wine can be a great part of the trip, but it doesn't always go well with afternoon pedaling in the heat. A bike very quickly reminds you that fun also needs to be planned reasonably.
Bikepacking at ANTY — bags and accessories if your first weekend is meant to be longer than a ride with just one pocket in your jersey.
Which maps to use?
Once you have your daily distance, direction, start, finish, accommodation, and key waypoints, you can open a map. And that is where the most important part of the work begins.
Google Maps is the most familiar, but it has limitations as a primary tool for mapping out cycling routes. It doesn't always understand the type of bike, difficulty level, surfaces, and real enjoyment of riding well. It can lead you where it is theoretically possible to ride, but where you wouldn't actually want to spend a Saturday afternoon in practice.
However, Google Maps has two very strong features: Street View and well-described POIs. Street View allows you to see the road, traffic, shoulder, surface, and the general character of the place. POIs help find restaurants, shops, stations, accommodation, and attractions.
For mapping out routes themselves, it is better to use tools built with cyclists in mind. Two platforms worth knowing are Komoot and Ride with GPS. Komoot works well for planning a route after choosing the activity, pace, start, and finish. Ride with GPS provides very convenient desktop work, file export, and precise trace editing.
In both cases, you must remember that an algorithm is only an algorithm. It can help, but it doesn't know your day, your bike, your mood, the weather, or whether you feel like a long gravel grind against the wind. The route must be verified, not just accepted.
Which roads to ride?
The golden rule is simple: wherever possible, choose cycle paths, local roads, and roads with low traffic volume. A pleasant route is rarely the shortest line between point A and B. It is more often a bit longer, a bit windier, and much calmer.
The OpenCycleMap layer, available in cycling tools, shows marked cycle routes well: international, national, regional, and local. This is a great starting point, but not an oracle. A cycle route can be beautiful, but it can also be too steep, too gravelly, too boring, or lead through a section that is theoretically for bikes, but in practice offers no fun at all.
A well-planned route requires checking four things: elevation, surface, road safety, and ride enjoyment. Only together do they say something sensible.
Elevation and climbs
Kilometers are misleading. Fifty kilometers in the flat Mazovia region and fifty kilometers in the mountains are two different trips. Therefore, when mapping out a route, you must look at the elevation profile, not just the length.
In Komoot and Ride with GPS, the profile appears below the map. If the route has climbs that are too demanding, look for variants: drag the track, add a waypoint, check the adjacent road. The general rule is simple: the longer the climb and the lower the average gradient, the easier it is to ride calmly. One kilometer at 10% can be much more painful than several kilometers of gentle climbing.
Sometimes you can't reasonably avoid a climb. In that case, it is still better to know about it. You can start the day slower, eat earlier, take more water, plan a break, or simply mentally prepare for the sweat. And sometimes you can also honestly say: this will be an e-bike route.

graphic — komoot
Surface: the bike matters
The bike you are riding is key. On a road bike, you avoid long gravel roads and forest roads in uncertain condition. On an MTB, gravel is more of a rest than a problem. Gravel bikes offer the most flexibility, but that doesn't mean every forest shortcut will be a good idea after rain.
In Komoot, surface types are described under the elevation profile. In Ride with GPS, unpaved sections are visible on the route profile. It is worth using this, but also checking photos: Google Street View, community photos, Trailforks, and current materials from the area.
You just have to be careful with dates. A well-maintained gravel road from Street View a few years ago might be a rutted mess today, a road under construction, or a section after logging work. If the photo is old, treat it as a suggestion, not evidence.
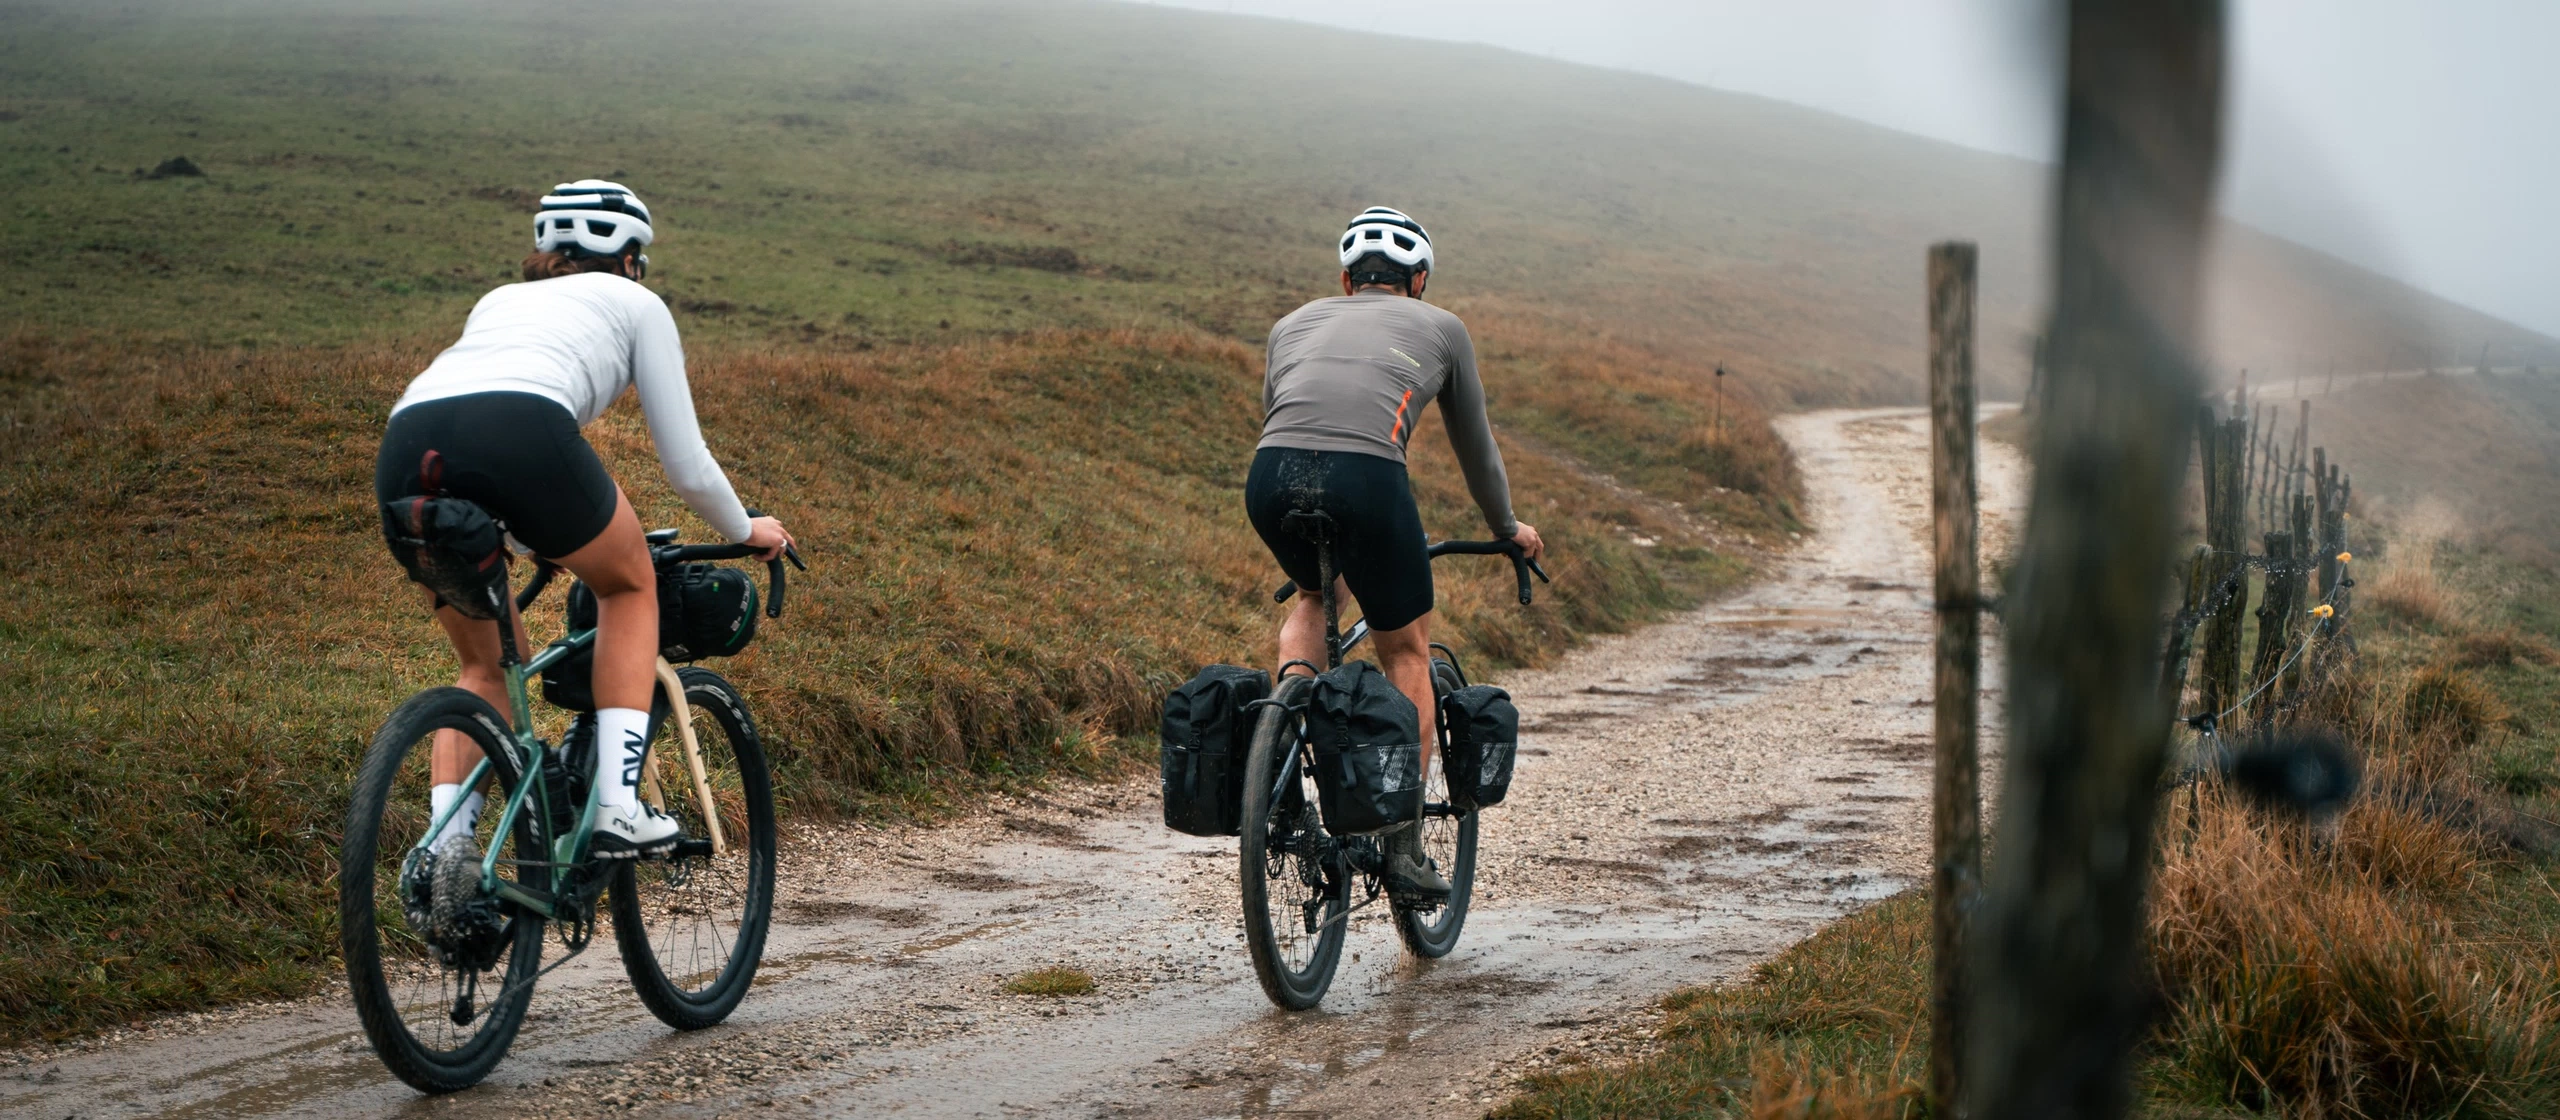

photo — Wilier Triestina / ANTY
Road safety
The first rule: stay away from main roads with fast car traffic. National roads are usually not a good place for a quiet cycling weekend. Regional roads can also be very busy, especially where they are the only artery in the area.
This doesn't mean that a road number always tells you everything. In some regions, you may find regional or even national sections where few cars drive. In other places, a local road can be an unpleasant shortcut for cars. That is why it is worth checking the real image of the road.
The fastest way is Street View. If you see a string of cars, a narrow shoulder, and a fast road in the photo, don't count on it being pleasant on the weekend. If the road is narrow, local, winding, and empty, the chances grow. Street View doesn't give you certainty, as seasons, construction work, and weather change the situation, but it helps you form an opinion.
Ride enjoyment and the "wow" factor
A cycling route doesn't just have to be a stretch between accommodations. The roads themselves can be an attraction. A winding local road, gravel through the forest, a path along a river, a ride through the market square of a small town, a scenic descent, a ferry, an old train station — these are often what stick in your memory after a trip.
It is worth avoiding endless straights, dual carriageways, sections exposed to full sun in the heat, and routes that are "correct" only because they are the shortest path. Instead of bypassing towns, sometimes it is better to ride right through the middle: the market square, the old town, a bridge, cobblestones, a bit of local chaos.
To check the character of the road, Street View, map photos, Komoot Highlights, Trailforks, and user photos are useful. For the hottest summer days, an interesting tool is ShadeMap, a sun and shadow map for a specific time of day. Shade can change the perception of a route more than another viewpoint.
Check out our gravel bikes — a good tool for mixed routes, gravel, and first cycling weekends.
How to map out a route in Komoot
In Komoot, you first choose the activity type, starting point, and finishing point. The system will automatically suggest a route. Then, you add waypoints: accommodation, restaurants, castles, stations, shops, or scenic segments you want to ride through. The route will be recalculated to pass through them.
Only then does the actual work begin. Check the elevation profile and catch any climbs that might be too hard for that day. Check the surfaces and match them to your bike. Check that the algorithm isn't leading you along a busy road. Open the map layers, look around the area, and see if there isn't a more interesting variant nearby.
After each modification, check the mileage. The route almost always grows when you start improving it. That is normal. But if it grows too much, you need to cut. A shorter route with a good rhythm is better than an ambitious line that turns into a race against the schedule from halfway through the day.
It is also worth remembering paid features and unlocked maps. Komoot allows you to plan routes, but navigation, export, and using the route on a device depend on an unlocked region, map pack, or Premium subscription. It is worth checking this before the trip, not in the morning on the train platform.
How to map out a route in Ride with GPS
Ride with GPS works best on a computer when you want to quietly tweak the route on a larger screen. After logging in, you enter the Route Planner, set the cycling mode, and start clicking points on the map. The route can be modified by dragging the trace to where you actually want to ride.
A great advantage of Ride with GPS is the convenient work with base maps, including cycling maps and Google Maps. This is particularly useful when you want to quickly jump into Street View and verify a road you are unsure about.
Just as in Komoot, after setting up the route, you must return to the basics: elevation, surface, traffic, scenery, and mileage. If the route has become too long after adjustments, it needs to be simplified. Planning a route is a bit like packing a bike — it is easy to add, harder to subtract wisely.
Ride with GPS allows you to export routes in formats used by bike computers and GPS devices, as well as send the route to selected devices via the app. In practice, it is still worth doing a synchronization test before the actual trip.
Navigation: don't assume everything will sync by itself
After setting up the route, you still need to transfer it to where you will be using it: your bike computer, phone, or watch. The most convenient way is to connect the planning app account to your device app, such as Garmin Connect or Wahoo. Then, routes usually sync automatically.
It sounds simple, but this is not something to test on the day of the trip. Do a short test route beforehand, send it to the device, and check if you can see the trace, notifications, and profile. Also check if you have the region map, battery in the computer, offline maps on your phone, and emergency charging if you are riding for a longer time.
Turn-by-turn navigation in apps is sometimes convenient, but it often depends on a paid plan. A GPX trace alone is enough to ride, but it won't always provide full turn-by-turn notifications. That is not a problem if you know what to expect. The problem starts when you expect full navigation and only see a line.
Check your bike at the service center before the trip — brakes, tires, drivetrain, and small things can decide whether the weekend will be peaceful.
Don't plan everything down to the last detail
Is there a perfect route-mapping system? No. The best method is combining tools: Google Maps, Komoot, Ride with GPS, OpenCycleMap, Street View, Trailforks, ShadeMap, and common sense. Each of them sees something different, and each can be wrong.
photo — Wilier Triestina
Even the best-planned day can be changed by a flat tire, a closed road, rain, fatigue, a traffic jam at the ferry, a delayed train, or a place that looks so good that it’s a shame to ride through it without stopping.
And that’s fine. The whole charm of riding on new roads is precisely that not everything can be predicted. The route is supposed to be a plan to follow, not a prison. It should help avoid stupid mistakes, busy roads, and overly ambitious stages, but it shouldn't take away the most important part of the trip: discovery.
If something tempts you, go off-track. If a road looks better than the one you planned, check it out. Don't spend the whole day with your eyes glued to your cycle computer. Lift your head, look around, and leave some room for chance. Your first cycling weekend doesn't have to be perfect. It just needs to be well-thought-out and truly yours.
Summary
Planning your first cycling weekend begins with an honest assessment of your own capabilities. The mileage, elevation gain, breaks, accommodation, food, water, and transport must all form a whole that makes sense not just on the map, but also after a few hours of riding.
Ready-made routes are a good starting point, but creating your own track gives you more freedom. It is worth using Komoot, Ride with GPS, Google Maps, Street View, OpenCycleMap, and photos from the area. You need to look not only at the distance, but also at the climbs, surfaces, traffic, and the simple pleasure of riding.
And then you have to go. With a plan, but without obsession. With a route on your cycle computer, but not with your nose glued to the screen. The best cycling weekend is one where you remember not just the kilometers, but also the roads, the places, the mistakes, the shortcuts, and that moment when you veered off the track because something looked more interesting.


Leave a comment